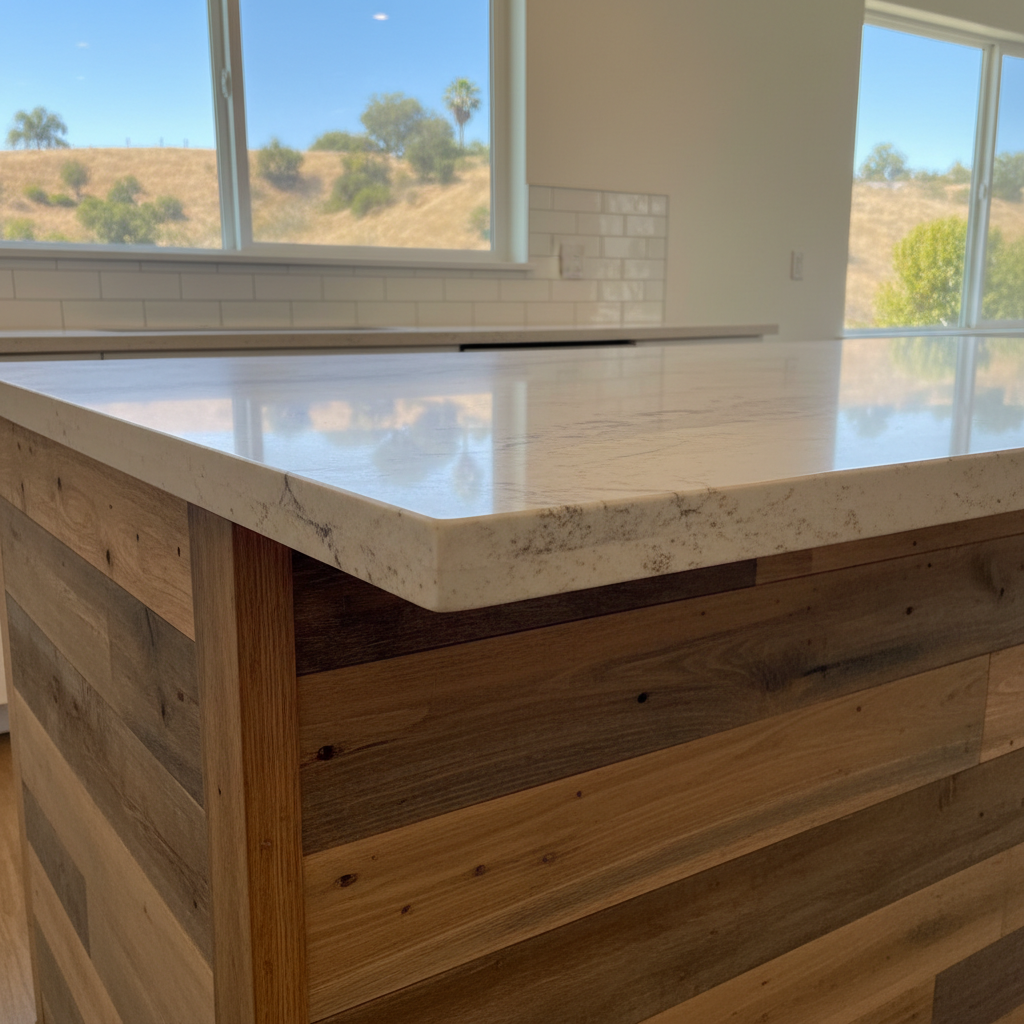
So, You Want a Kitchen Island?
A kitchen island can really change things up. Think about it: more counter space, extra storage, even a spot for the kids to tackle homework while you're cooking – it's pretty clear why they're so popular. But before you start sketching out designs and buying tools, let's chat about what actually goes into getting one installed in your Downey home. It's not always as simple as just plopping a cabinet in the middle of the room, you know?
Before You Lift a Finger: Planning is Key
First things first, measure your space. And I mean, seriously, measure everything. You need at least 36 inches, though 42 inches is really ideal, of clear walkway around all sides of your island. If you're living in one of those charming older Downey ranches with a galley-style kitchen, an island might just make things too cramped. Don't eyeball it; grab that tape measure.
Next, think about what this island will actually *do*. Is it just for prep and storage? Or do you want a sink, a dishwasher, a cooktop, or even an electrical outlet for your mixer? This is where things can get complicated, and fast. Adding plumbing or electrical means cutting into your floor, running new lines, and potentially dealing with permits. If you're just putting in a standalone, non-plumbed, non-wired island, that's one thing. But if you're adding utilities, you're looking at a much bigger project.
Consider your flooring, too. If your current flooring doesn't go all the way under where the island will sit, you'll have a gap. You'll either need to patch it perfectly (which is tough, believe me) or replace the entire floor. Most folks don't think about this until it's too late.
DIY vs. Calling in the Cavalry
Here's the honest truth: most homeowners can handle installing a basic, pre-fabricated, non-plumbed, non-wired island. If it's essentially a fancy piece of furniture that you're just securing to the floor, you can probably manage it. You'll need to:
- Assemble the cabinet base, if it's RTA (ready-to-assemble).
- Secure the base to the floor. This usually involves screwing through the cabinet base into the subfloor. You'll want to find joists if possible for a really solid anchor.
- Install the countertop. If it's a lightweight butcher block or laminate, you might be able to set it yourself. Heavier materials like granite or quartz usually require professional installation due to weight and the specialized tools needed for cutting and leveling, though.
Now, when should you absolutely call a pro? Anytime you're dealing with:
- Plumbing: Moving or adding water lines for a sink or dishwasher is a job for a licensed plumber. Messing this up can lead to leaks, water damage, and a huge headache.
- Electrical: Adding outlets or wiring for an appliance like a cooktop or microwave requires an electrician. Incorrect wiring is a fire hazard, plain and simple. Don't risk it.
- Gas Lines: If you're putting a gas cooktop in your island, you need a licensed gas fitter. This isn't just dangerous; it's often illegal for an unlicensed person to do.
- Structural Changes: If your island design somehow impacts a load-bearing wall (unlikely for most islands, but good to keep in mind for bigger remodels), you need a structural engineer and a contractor.
- Custom Cabinetry or Complex Designs: If you want something truly unique, built-in, or with intricate details, a skilled cabinet maker or general contractor will ensure it's done right and looks fantastic.
For anything involving utilities, you're also likely going to need permits from the city of Downey. A good contractor, like us at Paradise Kitchen Remodeling, knows the local codes and can handle the permitting process for you, saving you a lot of grief.
During the Install: What to Expect
If you're DIYing a simple island, make sure you have all your tools ready: drill, level, stud finder, measuring tape, safety glasses. Take your time. Measure twice, cut once. Make sure everything is plumb and level. Nothing looks worse than a crooked island or a countertop that isn't perfectly flat.
If you've hired pros, they'll handle the heavy lifting. Expect some dust and disruption, especially if they're cutting into your floor or walls. They'll protect your existing finishes as much as possible, but it's still a construction zone. Communication is key – don't hesitate to ask questions if you're unsure about something.
After the Dust Settles: Enjoying Your New Space
Once your island is in, give it a good clean. Wipe down all surfaces, check that all drawers and doors operate smoothly, and test any new outlets or plumbing. For countertops, make sure you understand the care instructions – especially for natural stone like granite or marble, which might need sealing.
A new island can totally transform your kitchen, making it more functional and beautiful. Just make sure you go into the project with your eyes wide open about what's involved, and don't be afraid to call in the experts when the job gets beyond your comfort zone. It's an investment in your home, and you want it done right.